How To Install Screen Protectors On Your Camera Screen
- 🛡️ Check if your screen can flip inward: A glass protector can stop an inward-flipping screen from closing, and pressure could crack the screen or damage the camera.
- 🧼 Clean the screen first: Use the wet wipe, then the dry wipe to remove dust and liquid so nothing gets trapped under the protector.
- 🧽 Pick up leftover dust carefully: Use the dust sticker to lift small bits of dust, but be gentle because it can stick very strongly.
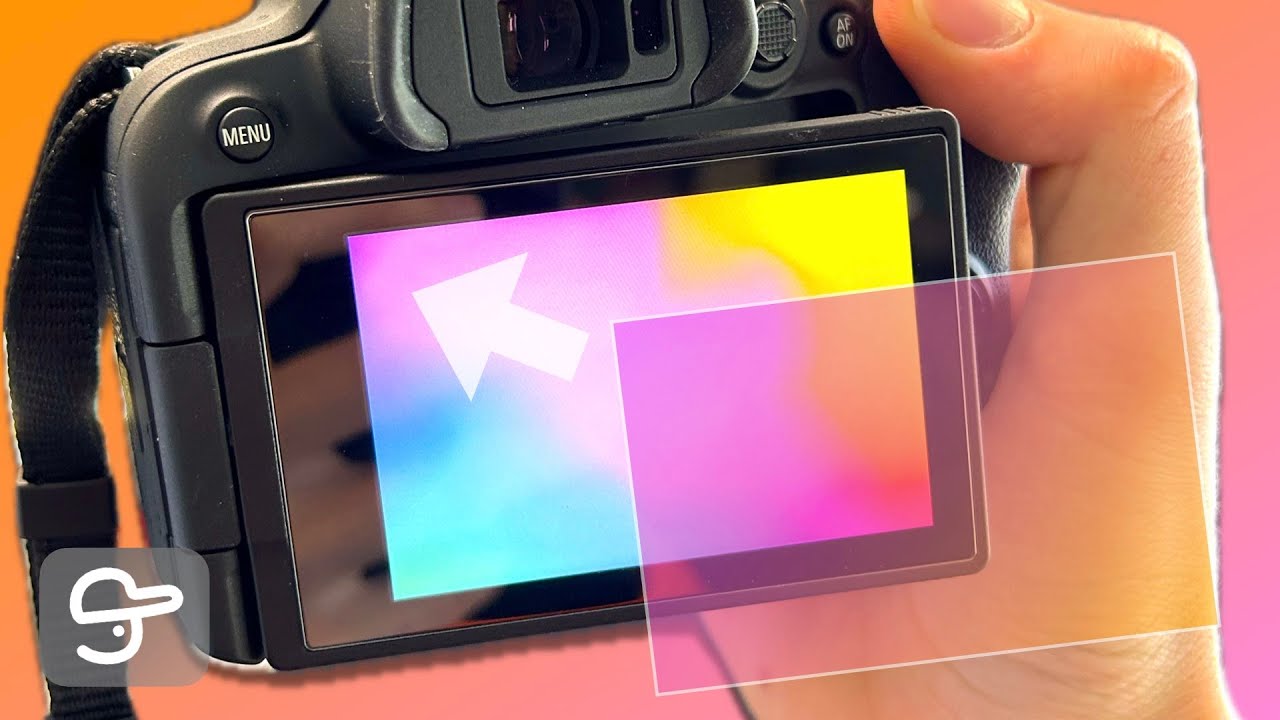
- 📐 Apply and line up the glass protector: Peel the backing, place it down slowly, align it close to the edges, and slide a finger across to help it stick smoothly.
- 🔒 Avoid closing the screen against the protector: Don’t press the screen inward with the protector on; tilt it back instead to avoid cracking, while still getting extra protection from scratches.
How to Install a Glass Screen Protector on Your Camera Screen (Step-by-Step)
A glass screen protector is one of the easiest ways to protect your camera’s LCD from scratches, scuffs, and everyday wear. In this guide, you’ll learn how to install a glass screen protector on a Canon camera (like the Canon R10), but the same method works for most cameras from Canon, Sony, Nikon, Fujifilm, and more.
Important Note About Flip Screens
Before you install anything, check how your camera screen closes.
If your camera has a fully articulating screen that flips inward (so the screen faces the camera body), a glass screen protector can stop it from closing properly. Even if it does close, it may put pressure on the LCD and could crack the screen or damage the hinge over time.
Tip: Always read the screen protector instructions and confirm your camera model can safely close the screen with a protector installed. If you’re unsure, avoid closing it inward and instead close it facing outward or tilt it back in a safer position.
What Usually Comes in a Screen Protector Kit
Most affordable glass screen protector kits include a few simple tools to help you get a clean install:
- Wet wipe (to remove grime and oils)
- Dry wipe (to remove moisture and streaks)
- Dust-removal sticker (for tiny particles you can’t wipe away)
- Guide stickers (optional alignment stickers; many people don’t use them)
- Glass screen protector (thin sheet of tempered glass)
Step 1: Prepare Your Camera
Place your camera on a stable surface with good lighting. It can help to angle the screen slightly upward so you can see dust and smudges more clearly.
You can keep the camera off during the installation if you prefer. The main goal is to make the screen easy to access and easy to inspect.
Step 2: Clean the Camera Screen
Cleaning is the most important part. Any dust left behind can cause bubbles or a bad fit.
- Open the wet wipe and clean the entire screen to remove fingerprints, oils, and grime.
- Use the dry wipe to remove any leftover moisture and streaks.
Why this matters: Dust and grit can also scratch the screen if you press the protector down over debris, so take your time here.
Step 3: Remove Any Remaining Dust
Even after wiping, you may still see small dust specks. This is normal.
Use the dust-removal sticker by lightly pressing it onto the screen and lifting it away. Repeat as needed until the surface looks clean.
Be careful: Some dust stickers can be very sticky. Use a gentle touch so you don’t risk pulling or stressing the screen.
Step 4: Install the Glass Screen Protector
Now you’re ready to apply the glass.
- Peel the backing layer off the screen protector (this reveals the sticky side).
- Line it up carefully with the edges of the camera screen.
- Set one edge down first, then gently lower the rest so it lands evenly.
- Once it’s in place, press lightly and slide your finger across the protector to secure it and push out any air.
Alignment tip: Try to get it as close to the edges as possible. If it’s too far over to one side, the protector may not sit down properly, and parts of it may not stick evenly.
Step 5: Final Checks and Safe Screen Closing
After installation, inspect the edges and the surface. If everything is sitting flat, you’re done.
If your camera has a flip screen, avoid closing it inward against the body with the protector installed. A safer approach is to tilt the screen back and close it in a way that doesn’t put pressure on the glass.
Remember: Tempered glass protects your LCD from scratches, but pressure can still cause it to crack.
Why a Camera Screen Protector Is Worth It
A glass screen protector adds an extra layer of protection, which means you don’t have to rely only on flipping the screen inward to prevent damage. It’s a simple upgrade that can help your camera screen stay clean, clear, and protected for the long term.
Quick Troubleshooting Tips
- Bubbles under the protector: Press gently and slide your finger outward toward the edges.
- Dust trapped under the glass: It usually means the screen wasn’t fully dust-free before applying. If you notice it right away, you may need to lift and reapply (if the protector allows) or use a fresh one.
- Protector won’t stick on one side: It may be misaligned or sitting on dust—recheck the edge alignment and cleanliness.
With careful cleaning and a slow, steady install, you can get a clean, professional-looking result in just a few minutes.
Hey everybody, it’s Josh from Cap Unpacked. Today, I’m going to show you how to install a glass screen protector on your Canon camera. I’m using an R10, but this will work with any other camera. ## Important Note About Flip Screens Please note: if you install a glass screen protector on a camera with a screen that flips inward, you unfortunately won’t be able to close it inward. You might be able to, but it can cause a lot of pressure on the screen and, as a result, it may crack the screen or damage the camera. Please make sure that if you do install a screen protector, you read the instructions and confirm your camera won’t have the screen folding inward against the body. ## What Comes in the Kit I bought a few screen protectors off Amazon for quite cheap, and I’ll leave a link in the description if you want to get some. When you open the kit, you get: – Wipes to clean the screen – Some dust-removal stickers – Some guide stickers (I’ve never used these before, so we won’t use them) – More wipes If I take one of these out, you’ll notice it’s just a sheet of glass. ## Cleaning the Screen We’ll get the Canon camera set up. I’m going to leave my Canon camera off for now, but you can see the screen is very dirty. First, grab one of the wipes from the kit. I’m going to use the wet wipe first. Rip it open and wipe the screen to get rid of all the dust and grime. We don’t want any dust on the screen because dust can actually damage and scratch it, so we’re trying to remove as much as possible. I might tilt the screen up a little bit more. I might even angle it up toward the ceiling—yeah, that’s probably a lot better. Okay, I think that’s looking quite good. Now I’m going to use the other wipe from the pack—this is the dry wipe—and wipe away any remaining liquid. ## Removing Remaining Dust Now we want to use the dust sticker. If you still see dust on the screen, don’t worry—this next step will get rid of it. If your kit comes with a dust sticker, peel it off and lightly press it onto the screen to pick up any remaining dust. Oh my gosh—be very careful with it, because I didn’t realize how strong it would be. That is a very strong sticker. Be careful when you use this; I don’t want you to damage your screen. ## Installing the Glass Screen Protector Now we’re going to get the glass screen protector and peel off the back layer. This is the sticky side. Flip it and carefully lay it down so it covers the whole screen. Carefully set it down on one side, then tip it so the screen is fully up, and let it drop down gently. The screen protector should fit into place. Be very gentle, and make sure you push it as close to the edge as possible. I’ve done that, and I’m going to use one finger to keep my thumb down on the screen. That looks way better—perfect. Now, slide your finger across the screen to press it down evenly, and that’s it—installed. ## Final Tips and Closing the Screen Just a note: when you install the screen protector, make sure it’s lined up as close to the edge as possible. What I had at first was too close to one edge, so it wasn’t pushing down properly. Also, I would not recommend closing the screen inward with the screen protector installed. If you do have a screen protector on, I recommend tilting the screen backward and closing it that way, so you don’t accidentally crush the screen protector. You definitely do not want to put pressure on the screen, because if you do, it will crack. The screen protector is really good because instead of having to keep the screen facing inward all the time to protect it from scratches or cracks, this glass screen protector adds extra protection to the screen—so it’s definitely worth it. If you found this video helpful, don’t forget to leave a like and subscribe to Cap Unpacked. I’ve got a whole bunch more videos planned. Thank you so much for watching, and I can’t wait to see you in the next video. See you!
Video Thumbnail

This post has been automatically generated using services to reformat and enhance content based on the video’s transcripts. Some information may be incorrect and may not reflect undermycap’s values or views.


